Install Docmost - Open Source Notion Clone

Do you need a knowledge base tool for your team?
And you don’t want to spend hundreds of dollars for Notion?
Then you can give docmost a try. And this tutorial shows how to install it on a server.
My name is Till Carlos. I am here to help software teams work more effectively, and today we look into self-hosting a wiki.
My company needs a shared space to post meeting notes. The other day I went on Hacker News and found a tool that’s similar, but self-hosted. So I thought I install it for my team.
Yes, there is better Wiki software out there (like wiki.js) but I just didn’t like the editing experience.
What is DocMost?
It’s like a notion. You can add users and create spaces for teams.
Exactly what we need.
Problem: the docs are missing a self-host installer. You can boot it up locally, but hosting it on a server is not well doceumented.
In this tutorial you’ll learn how to use , which gets us a SSL certificate to host Docmost online. We’ll also walk through setting up DocMost on a root server using Docker and Traefik for SSL certificate management. Here’s what we’ll cover:
In this guide, we’ll walk through setting up DocMost on a root server using Docker and Traefik v3 for SSL certificate management. Here’s what we’ll cover:
- Getting a root server
- Setting up DNS
- Installing DocMost
- Configuring with SSL
General notes about this tutorial
- Change every placeholder:
[YOUR_EMAIL], anything with [ ]. - This is for testing only. If you think Docmost is for you: hire an admin and lock it behind a VPN.
Step 1: Get a root server
For this tutorial, we’ll use Hetzner, but you can use any cloud provider you prefer (like DigitalOcean). Here’s what you need to do:
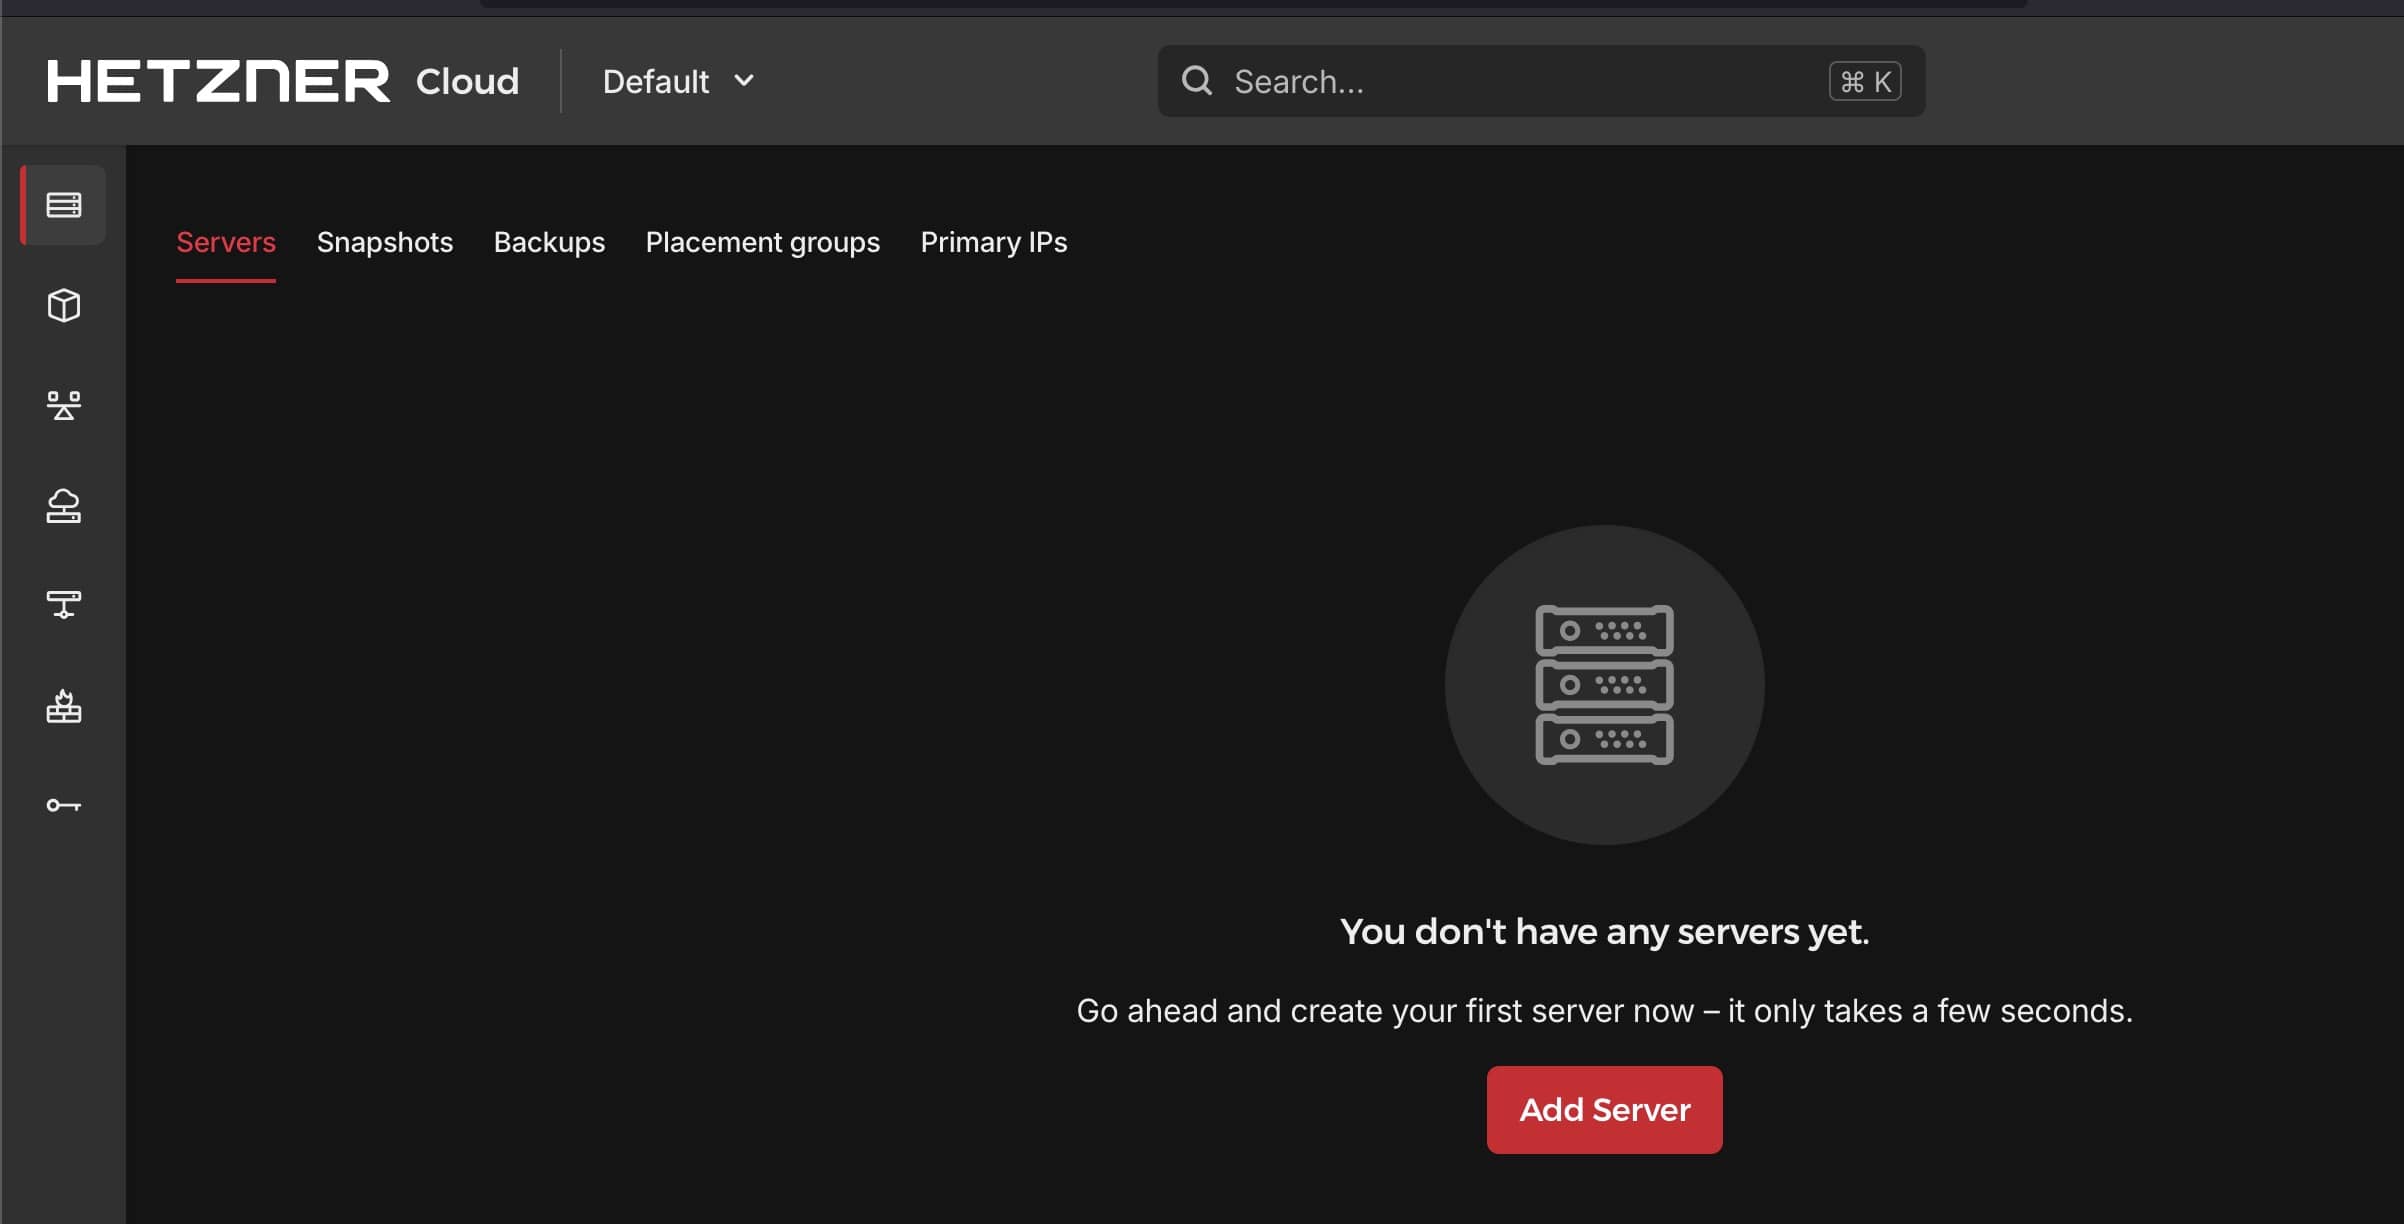
Create a Hetzner account
Choose your closet location
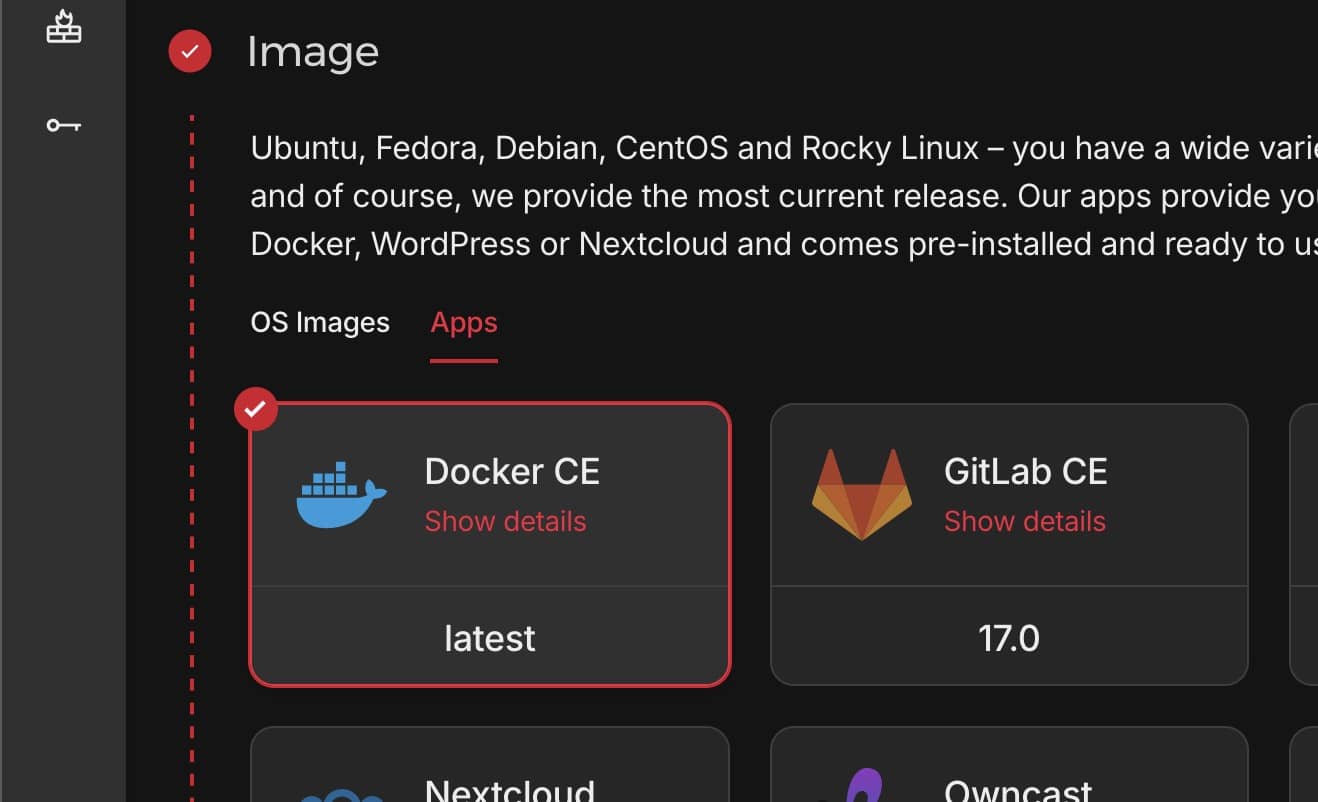
Select the Docker CE image
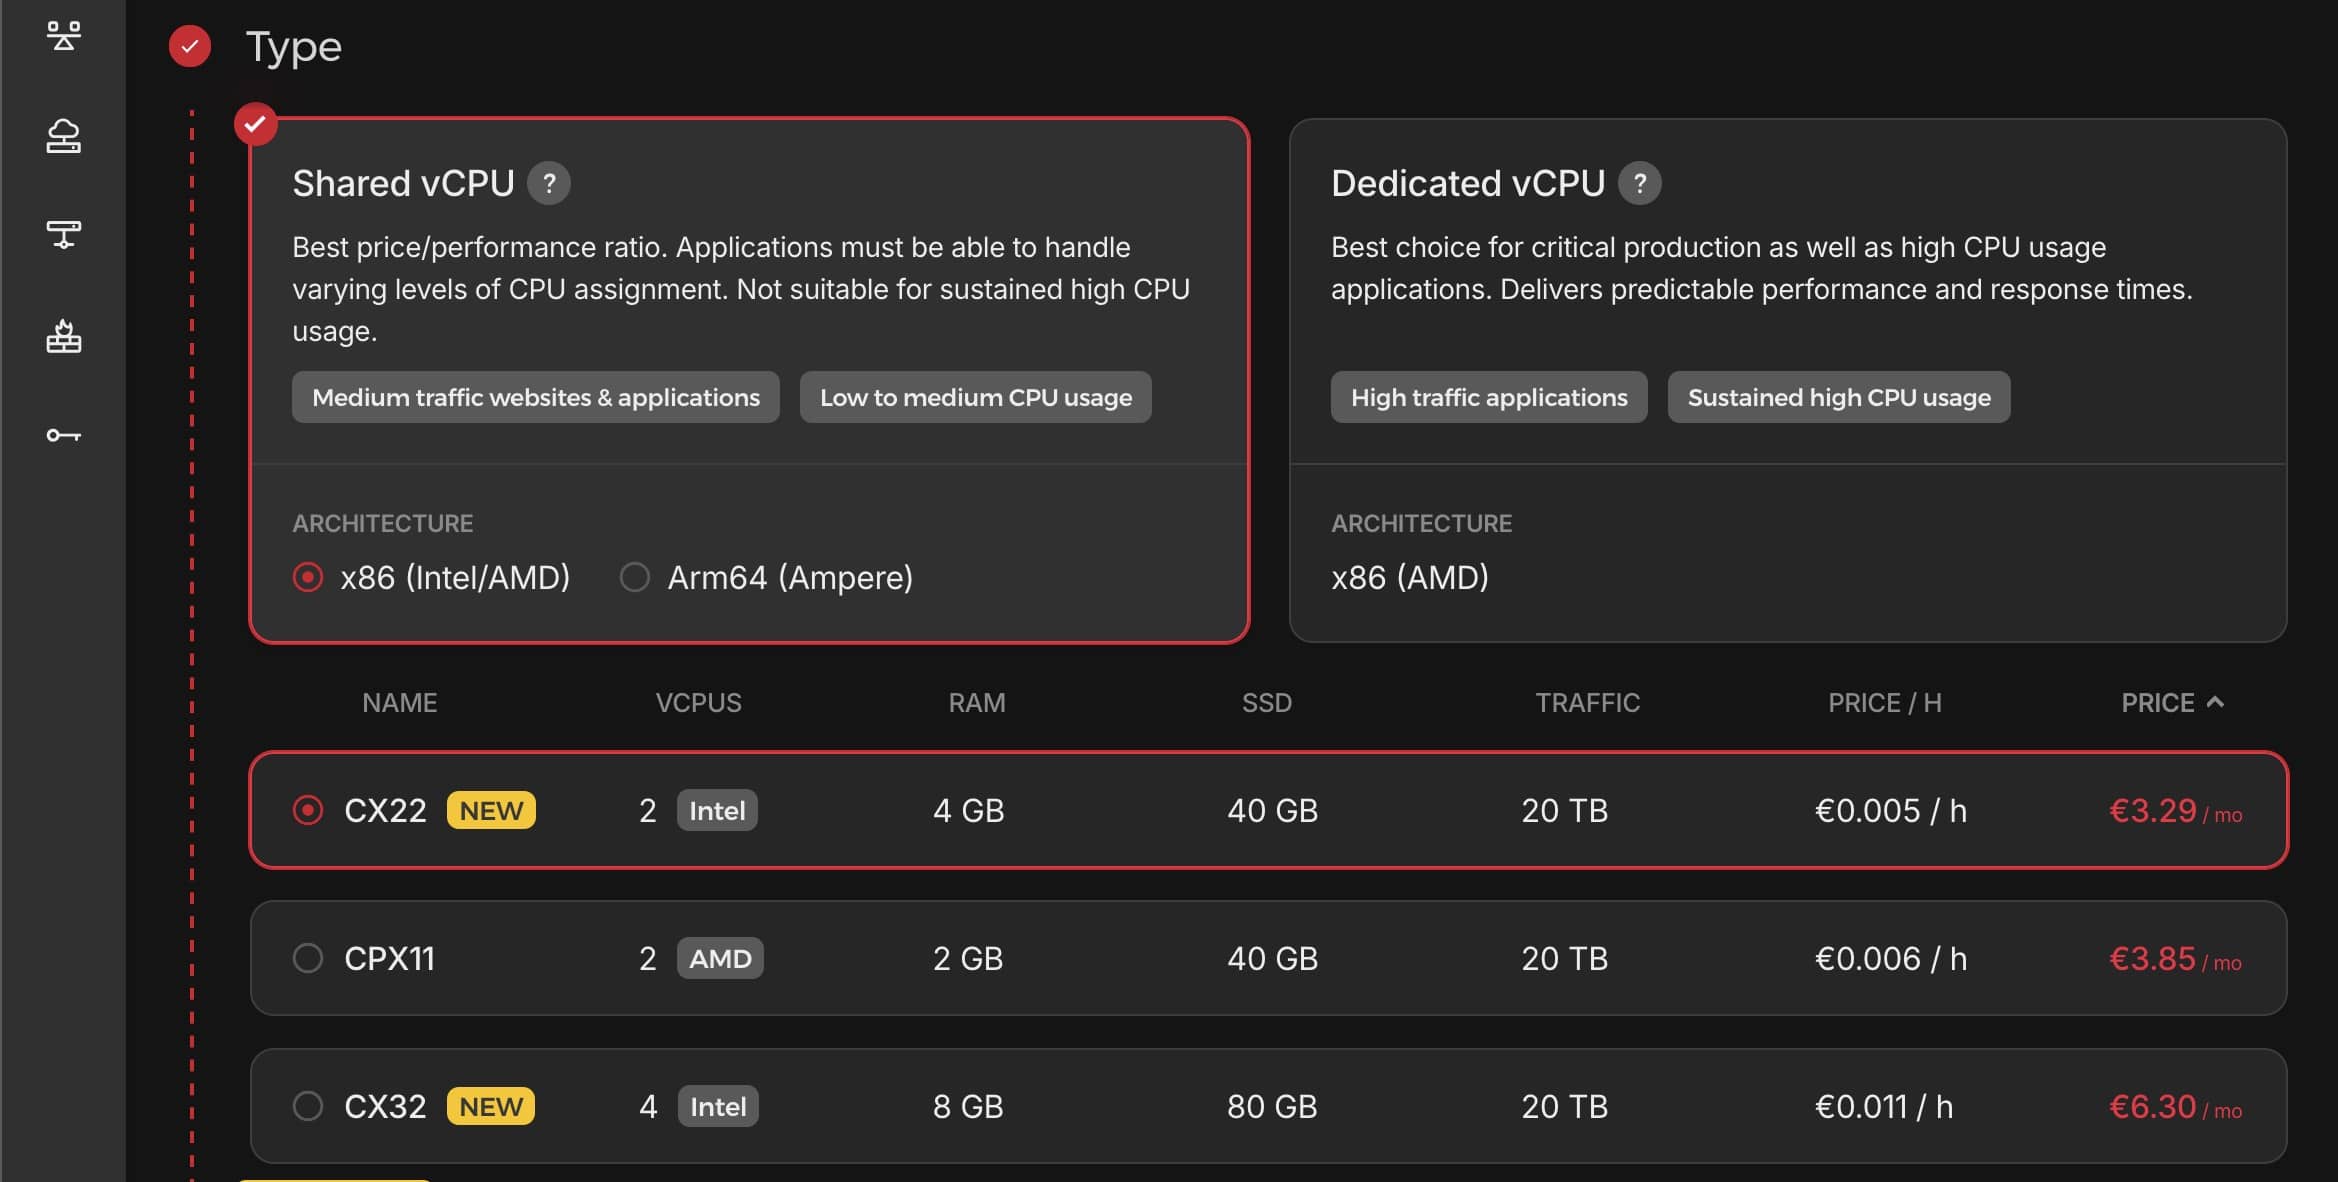
Pick a server size (CX11 for €3.29/month is sufficient for testing)
Add your SSH key
Create the server
Step 2: Set Up DNS
Once you have your server’s IP address:
Log into your domain registrar’s DNS management Add an A record for your subdomain (e.g., docs.yourdomain.com) pointing to your server’s IP
Step 3: Installing DocMost
SSH into your new server:
ssh root@your_server_ipCreate necessary directories:
mkdir /docmost/certs/
chmod 600 /docmost/certs/
cd /docmost
curl -O https://raw.githubusercontent.com/docmost/docmost/main/docker-compose.yml
Step 4: Configure Docker Compose
Instead of using the default docker-compose.yml, we’ll use a custom one that includes Traefik for SSL. Create a new file:
vim docker-compose.ymlservices:
docmost:
image: docmost/docmost:latest
depends_on:
- db
- redis
environment:
APP_URL: 'http://[MY_DOMAIN]'
APP_SECRET: '...use openssl rand -hex 32 for this'
DATABASE_URL: 'postgresql://docmost:[POSTGRES_PASSWORD]@db:5432/docmost?schema=public'
REDIS_URL: 'redis://redis:6379'
ports:
- '3000:3000'
restart: unless-stopped
volumes:
- docmost:/app/data/storage
labels:
- 'traefik.enable=true'
- 'traefik.http.routers.docmost.rule=Host(`[MY_DOMAIN]`)'
- 'traefik.http.services.docmost.loadbalancer.server.port=3000'
- 'traefik.http.routers.docmost.entrypoints=websecure'
- 'traefik.http.routers.docmost.tls.certresolver=myresolver'
- 'traefik.docker.network=web'
networks:
- web
db:
image: postgres:16-alpine
environment:
POSTGRES_DB: docmost
POSTGRES_USER: docmost
POSTGRES_PASSWORD: [POSTGRES_PASSWORD]
restart: unless-stopped
volumes:
- db_data:/var/lib/postgresql/data
networks:
- web
redis:
image: redis:7.2-alpine
restart: unless-stopped
volumes:
- redis_data:/data
networks:
- web
traefik:
restart: unless-stopped
image: traefik:v3.0
command:
- '--api.insecure=true'
- '--providers.docker=true'
- '--entrypoints.web.address=:80'
- '--entrypoints.websecure.address=:443'
- '--certificatesresolvers.myresolver.acme.tlschallenge=true'
- '--certificatesresolvers.myresolver.acme.email=[MY EMAIL]'
- '--certificatesresolvers.myresolver.acme.storage=/certs/acme.json'
- '--log.level=DEBUG'
ports:
- '80:80'
- '443:443'
- '8080:8080'
volumes:
- /var/run/docker.sock:/var/run/docker.sock
- /docmost/certs:/certs
networks:
- web
networks:
web:
external: true
volumes:
docmost:
db_data:
redis_data:Create the Docker network:
docker network create web
Start the containers:
dockercompose up -d
Now you should see this:
Step 5: Access Your DocMost Instance
Once everything is up and running (which may take a few minutes for SSL certificates to be issued), you should be able to access your DocMost instance at https://your_domain.com.
Troubleshooting
If you encounter issues:
- Check the Traefik dashboard at http://your_server_ip:8080/dashboard/ (remember to disable this in production).
- Add
- "8080:8080"to the traefik ports.
Review Docker logs: docker compose logs.
Ensure your firewall allows traffic on ports 80 and 443.
Limitations and Next Steps
- Email Invitations: The current setup doesn’t include email functionality. To invite users, you’ll need to configure SMTP settings in the docker-compose.yml file.
- File Storage: DocMost uses local storage by default. For production use, you may want to set up a more robust storage solution.
- Backups: Ensure you set up regular backups of your data volumes.
- Security: This setup is basic. For production use, consider putting DocMost behind a VPN and implementing additional security measures.
Remember, this tutorial is meant for testing purposes. For a production environment, consult with a system administrator to ensure proper security measures are in place.
Watch the full video tutorial here: