We Delivered a $10,000 MVP for Just $500 - Here is How
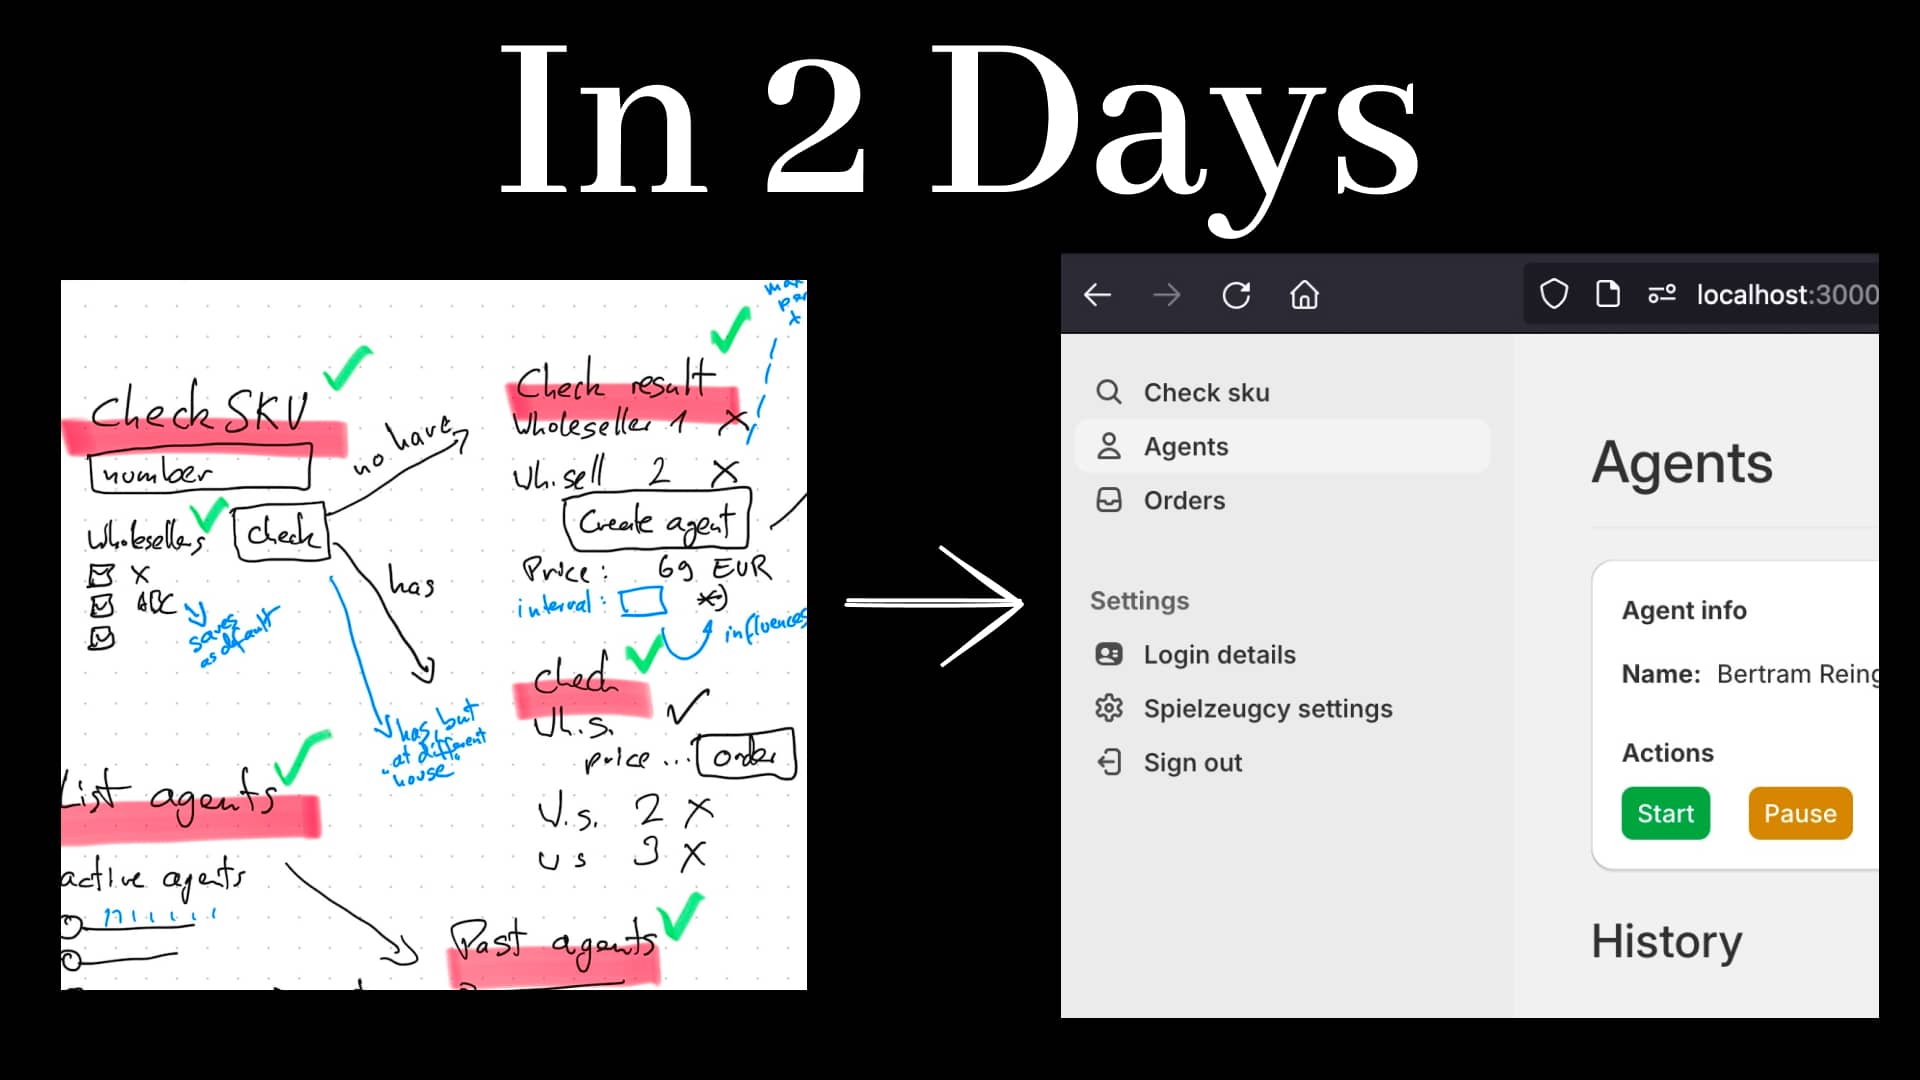
In this blog post, I’ll show you our process for creating MVPs quickly and cost-effectively. While other startups might spend $10,000 for a presentation, we accomplish this for less than $500.
We’ll outline our 4-step process, and in step 4, we’ll provide the exact instructions we give to developers to ensure they don’t overcharge us.
My Situation
I’m in discussions with a potential partner about building a software business. It’s still in the idea stage and quite risky—there’s a real possibility that this deal may not even materialize.
Despite this uncertainty, I wanted to demonstrate our ability to deliver. We needed something fast: an inexpensive way to create a software demo. It doesn’t need to be fully functional; it just needs to look like it could be operational soon.
This is where breadboards come in. UX Coach Fabian Fabian introduced this concept to me in an interview earlier this year:
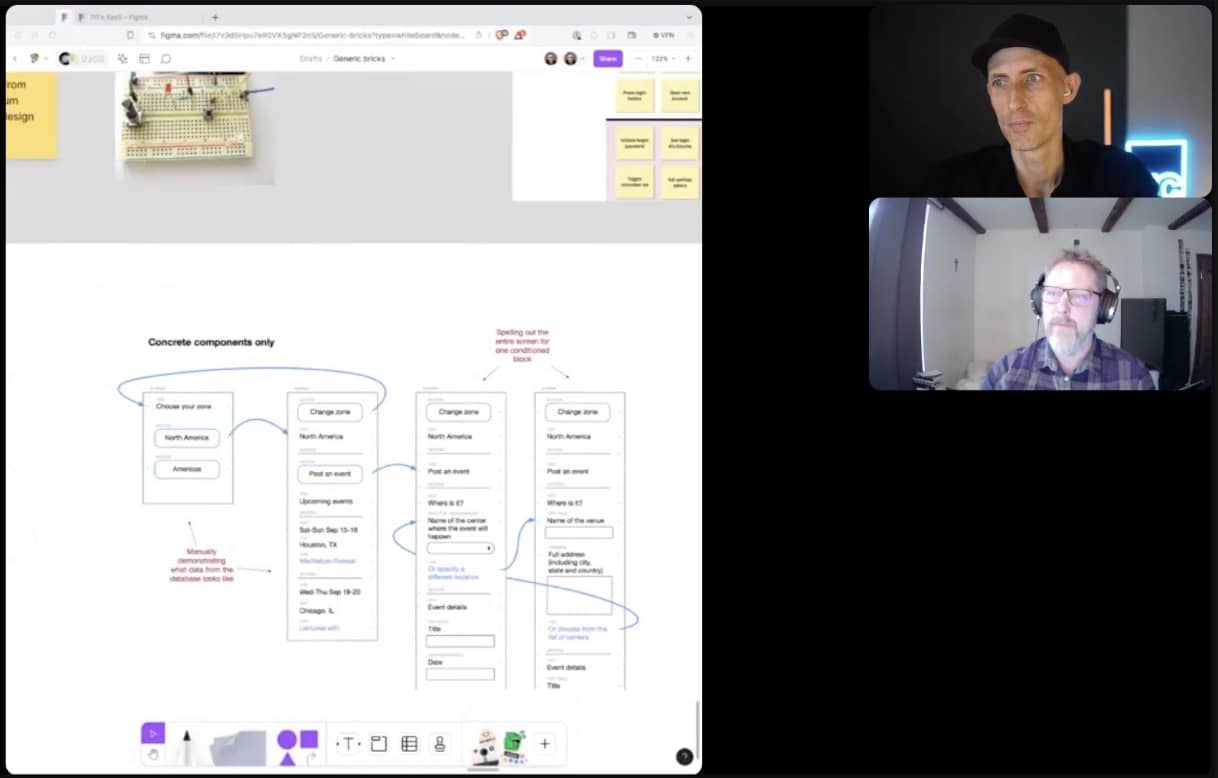
It’s a design principle we’ve adopted from 37signals. This tool is still relatively unknown; many people don’t use it because they tend to overcomplicate software development.
With breadboards, we can design software quickly and hand it directly to a frontend developer.
Here’s our 4-step process to create a visible, clickable prototype.
Additional benefit: This clickable prototype will later serve as the starting point for MVP development, saving us time twice over.
Step 1: Talk with the Product Owner / Customer
The most crucial step is clearly understanding the problem potential customers are facing. From there, we develop a possible solution. This usually happens in a recorded call.
Our primary task here is to listen and take notes.
If you’re not convinced that customer development is important, we have two interviews on this topic with successful entrepreneurs who pre-sell their products. Here’s what one of them said:
“Just go for the total number of minutes you spend talking to the target group. A 2-hour call with one person can be as valuable as many smaller calls.” – John Reineck
In my call, I spoke with the potential partner, who gave me a clear idea of what they wanted to achieve.
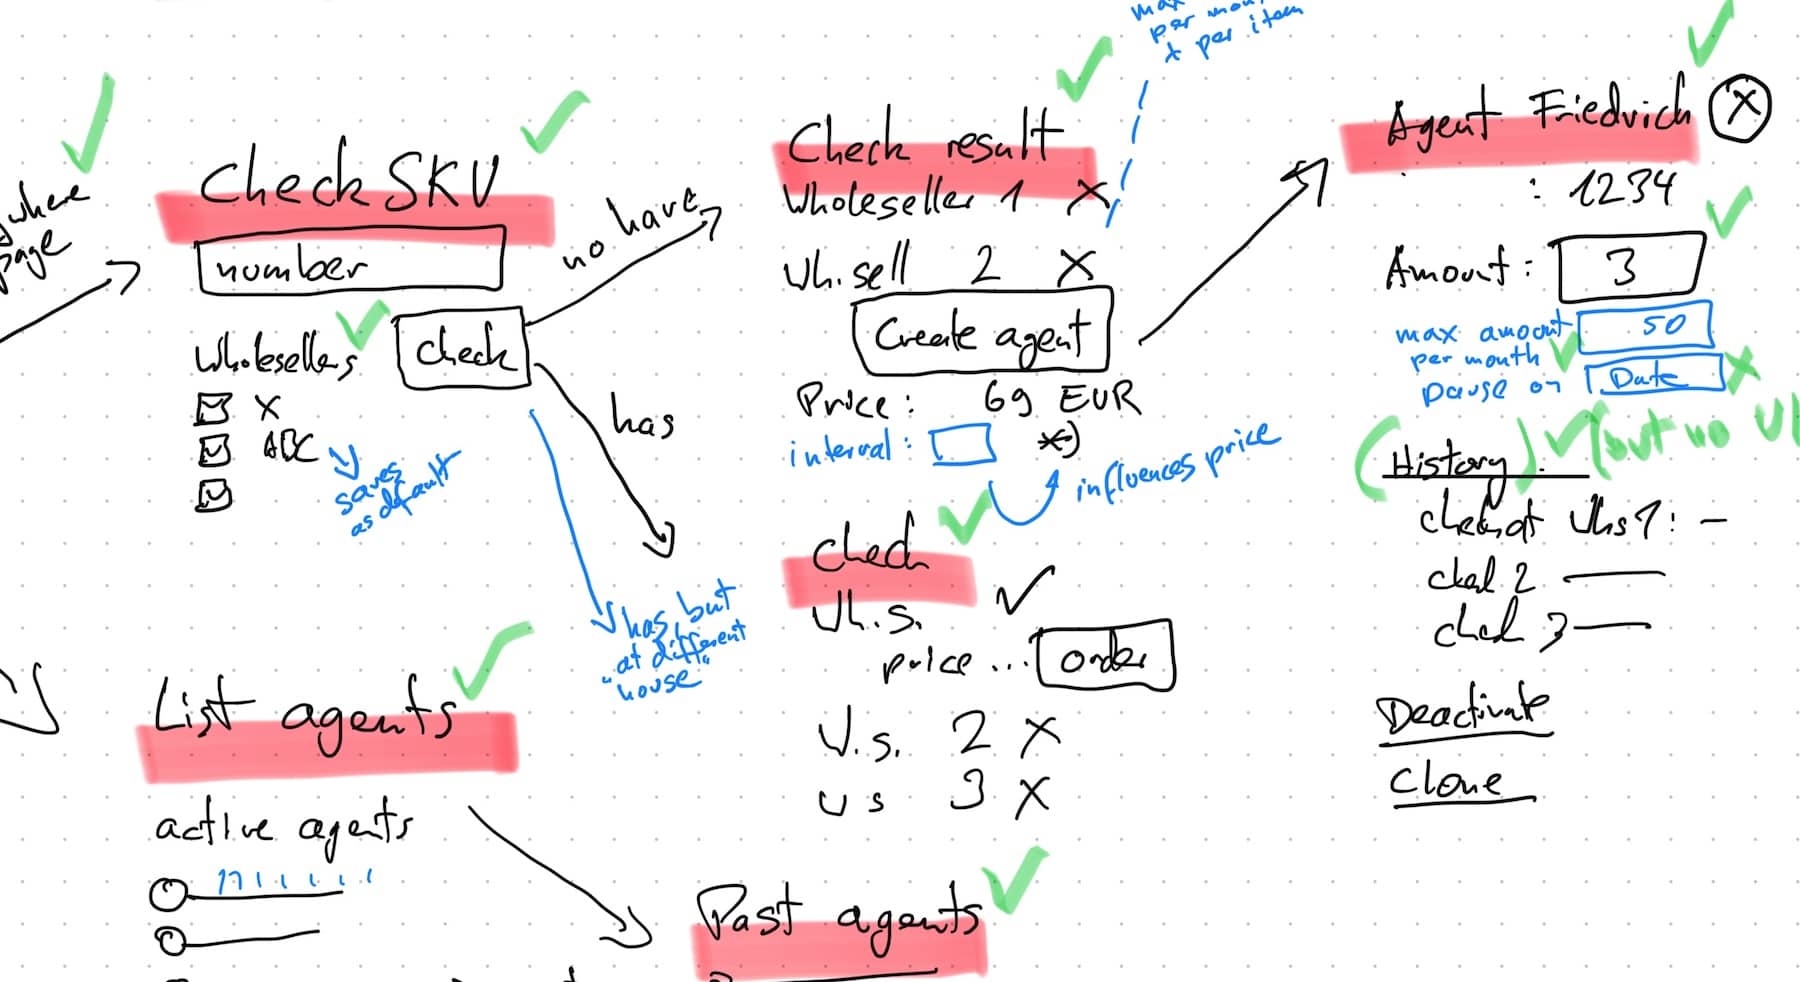
Step 2: Use freeform to draw breadboards
This is my favorite iPad App. You can also use pen and paper or Figma. It really doesn’t matter as long as you can give input to the frontend dev.
Step 3: Get first feedback
With the client we now go through the breadboards and get feedback.
We also ask what’s most important to get done for the MVP.

If there is anything we can cut out - we’ll do so. This call should be recorded and is perfect for the next step.
Step 4: Hand Breadboards to a Frontend Developer
We hire a frontend developer to code our clickable prototype. Here are the crucial instructions we provide:
Use a full-stack web application framework like Ruby on Rails or Laravel. Utilize a component framework. We use Shopify Polaris. Don’t use a database. All data should be mocked. Ensure every path is navigable (to facilitate easy demos). Upload the prototype to a website for constant accessibility.
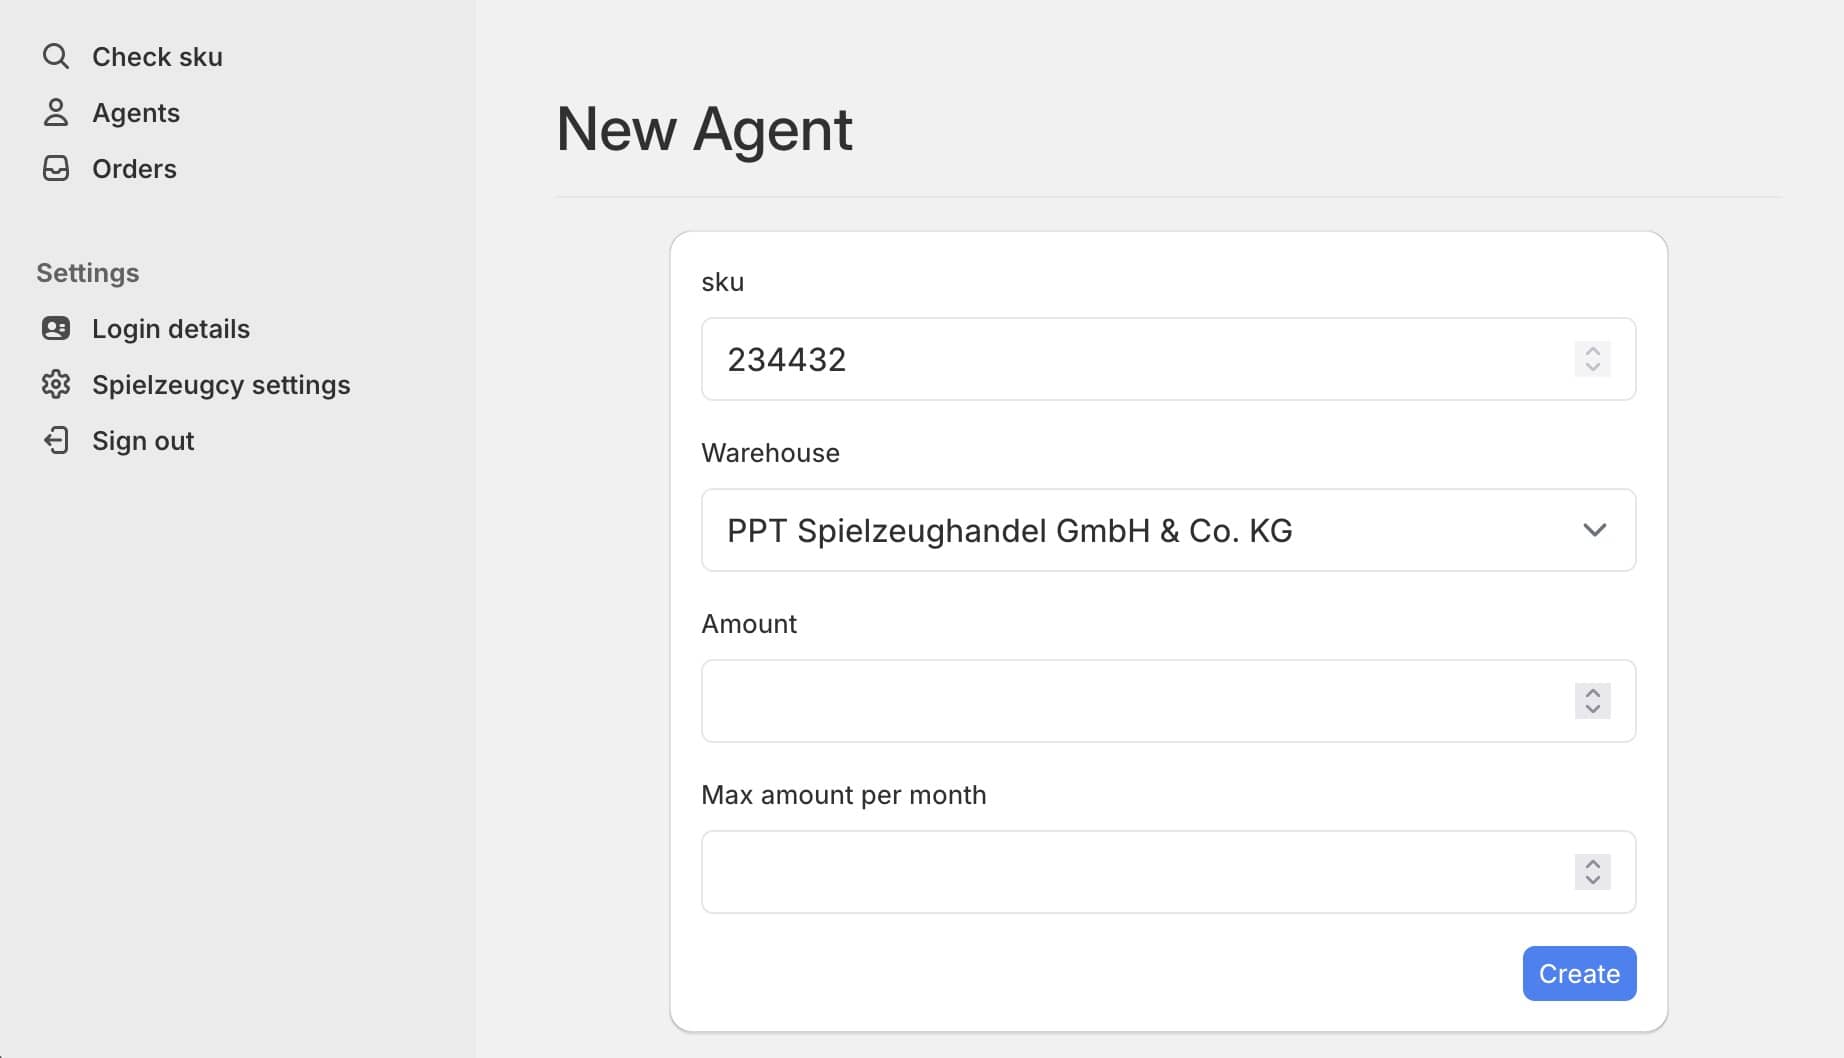
Here’s what we achieve after just a couple of hours of work:
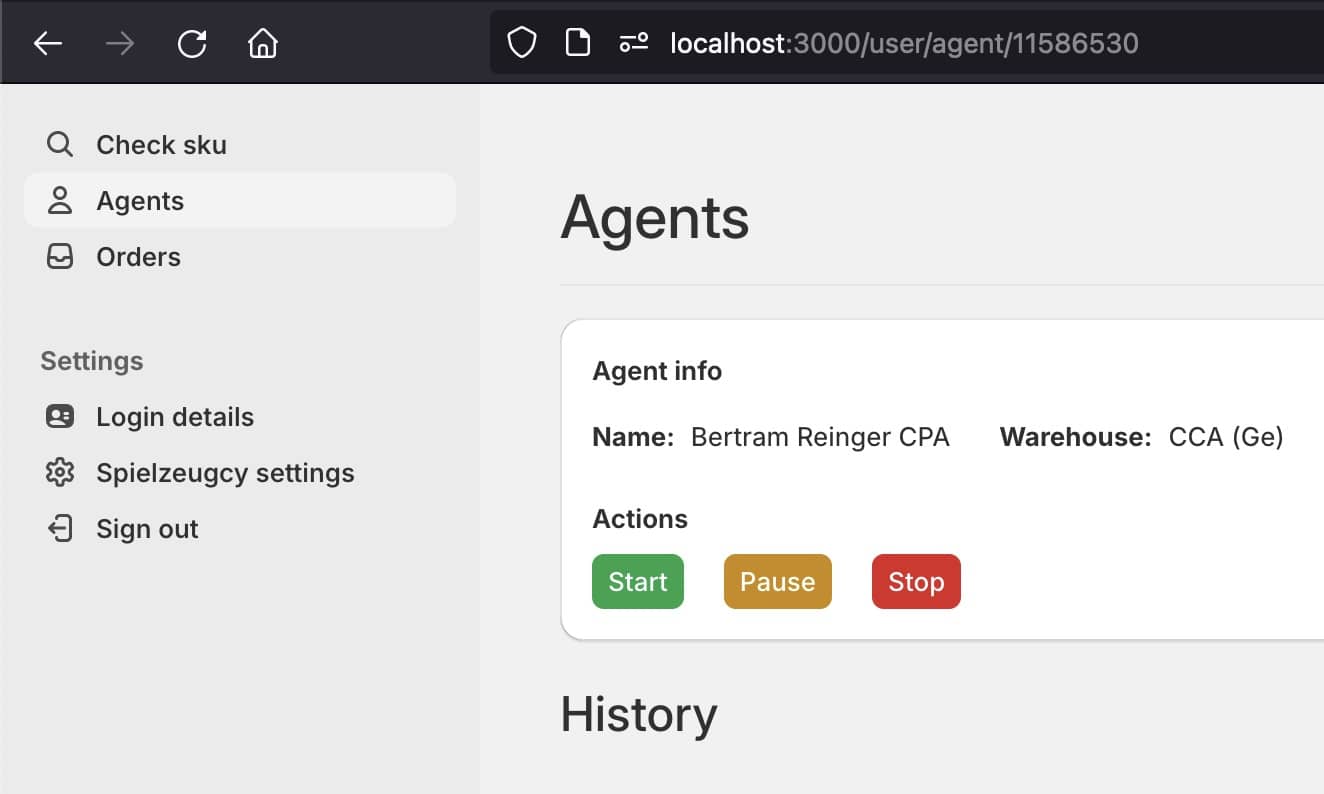
And another screen:
Question to you: how much did your last MVP cost? How much money / how much time?
And if you want to learn more about breadboard, check out my full video on breadboards.
